Thanks Beachie for contributing this how to. Be sure to visit her site Cameo Kids Boutique
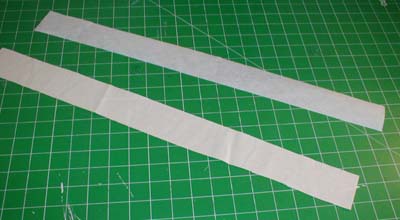
I have already enlarged the templates for you. The smallest one is the original template mentioned in the article that you had to enlarge 150%. All you need to do is print it out and cut it out, on the outside edge of the black line of the pattern as I had to take a black marker to edge it because my paper was white, so the pattern was defined. I made one other one a little larger, because the original was for all sizes, and it was kind of snug up under the armpit for some sizes. I marked on them the sizes I use each template for. Work with them to see which would be the best size for you. Below is some information that I thought good to pass along after working with this pattern and the instructions.
pillowcase_pattern
First: FOR SIZING OF YOUR DRESS: (SIZING IS DETERMINED BY THE LENGTH YOU WANT YOUR DRESS TO BE.)
Making A Dress Out Of A Pillowcase.
If you use a pillowcase, this is what I do. Measure your child from shoulder to where you want the hem to lay;
shoulder to just above knee, on the knee, below knee, mid-leg calf, or ankle, (the original pillowcase dress was
meant to be worn tea length,) but any length is fine and looks just as cute. Press your case with iron to get out
the wrinkles, lay out flat and measure on both sides from the bottom (the opening of case) up towards the top of
the case the measured inches you got from measuring your child for length. So let’s say your child was 17 1/2″
from shoulder to mid-calf. I stick a common pin all the way through both front and back layers of pillowcase at
that point on each side (left and right) of the case. Then measure from that point another 7/8″ up, and pin mark
both sides again. Fold the case back under matching your top two pin points on either side, press with iron for a
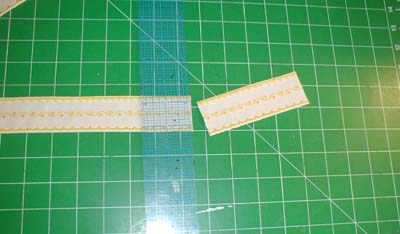
good crease all the way across. While still folded, take your scissors and cut your case off straight across the
width of case on your fold line. This helps to get a straight cut all the way across.
The total length of your cut case now should be 18 3/8″. (I do it this way especially when using vintage cases,
because sometimes one side is a little longer than the other side, and if you don’t measure both sides evenly,
your dress will look a little lopsided.) Now fold your case length wise, making sure sides together are even to be able to
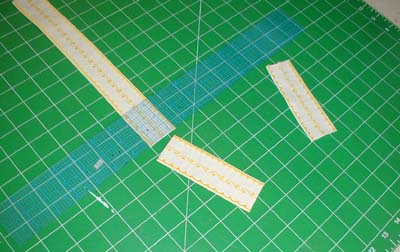
cut out both the armholes with one cut. Take armhole template; lay it on your case on the edge of the side’s together
with the bottom part of the armhole template laying right on the edge. The top part of the template will lay right on
your 17 1/2″ line. Pin and cut.
As you’re cutting out the curve and coming up the straight part of the curve near the top of the template, just
keep cutting the case straight up to the top of the case which will be the added 7/8″. Now you have two perfect matching
armholes. Now when you fold the top down the 1/4″ across then press and then fold down again the 5/8″ to sew
across for the ribbon casing, your armpit hole size will stay what you want and you don’t loose any of your
measured dress length as stated on Martha’s template enlargement, where it also gives you the typical sizes for age and
measurements if you don’t have a child to measure!
Other wise when you fold down for your ribbon casing it takes up your armhole space and can cause the dress to fit
snug up under the armpit of the child and you loose some dress length. When you loosen up the ribbons to bring
the armpit down lower, then the front of the dress drops lower too, and I like my front to hit just a little bit
below the collar bone. You kind of have to play with this according to your taste and child but this works
beautifully for me.
Now: If you’re making your dress from fabric you purchase, just measure the width of a pillowcase using regular
size or queen either is fine, Or just hold a pillowcase up to the child and see how much space there will be and
you’ll know what size case measurement you’ll want to use, because you want space, then measure out your length,
sew the sides together for just one seam, have that seam in the back of dress, and then follow the rest of the directions for
cutting the armholes from above. If you want two side seams, that works ok too. See the magazine article I have sent you
for finishing the dress up and you’re done. Once you do one or two, it should only take about 30 min to complete one dress.
When making these to wear for a top with shorts, jeans, or skirts, just measure from shoulder to again where ever you want
the hem to lie. The dresses are really cute with pantaloons, capri’s, and leggings. In colder climates they look adorable
with turtle neck long sleeve shirts.
I also made a maternity top for my daughter out of a vintage pillowcase, and for my daughter in-law I made a midriff top that she wears with her shorts.
Both fit them real well and are really cute on them. It’s just amazing to me all the ways you can use a pillowcase! If you have matching cases, you can
make a skirt or capri’s with a matching top too! Almost any child’s dress pattern can be used for a pillowcase dress allowing for several different
styles when using a vintage pillowcase. It’s all in the imagination.


 2
2 3
3 4
4 5
5 6
6 7
7 8
8 9
9 10
10


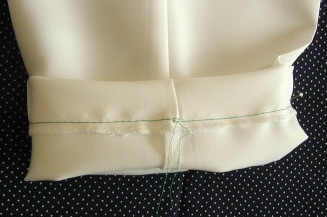
 Hard to get a good picture for you. You will reach up the open back and pull the front through the shoulder.
  You can see where one side has been turned. Repeat for the other side.
  There, you now have the lining turned. Remember the side seams are still open, so we will finish those next.
  Meet fabric to fabric and lining to lining and sew in one continuous seam. Finish seam, press and you have a nice neat lined top.
  Finished– You can use this method anytime the back or front is two pieces, which is most of the time.
 6
6 7
7