Double Shoulder Bows
By Niener
(I bought 2 yards of double faced satin ribbon to make a pair of double bows)
Step One:
First, I divided my two yards of ribbon into 2 pieces. Then I cut off 4″
from both. I should have only cut off 4″ from the long piece, then cut the
remaining long piece in half..it doesn’t take the whole 4″ to make the
cover for the center.

Step Two:
I then folded the straight ends in half and cut out the wedge to form the
points.

Step Three:
Then I measured up 4 ½” from the points and marked that as my first stitching line.

Step Four:
I measured up 7″ from the first stitching line for my second stitching
line.

Step Five:
Once the stitching was done, I began separating the layers and flattening
out the ribbon.

Step Six:
I stitched through all thicknesses in the very center – or as close to the
very center as I could, leaving long tails of thread to wrap around the
center to “gather” it up.

Step Seven:
I wrapped the long double tail of thread around and around the center to
“gather it up” and tied it off to the shorter piece of thread left near the
top and then trimmed the threads close.

Step Eight:
I folded the 4″ piece of ribbon I had originally cut away from my ribbon
length in half and wrapped it around the center. I sewed that as closely to
the bow as I could without catching the bow itself.

Step Nine:
I trimmed the 4″ piece of ribbon to about 1/8″ and turned that to the back.
We will pin through this as we attach the ribbons to the shoulders. Be sure
to treat the cut edges with Fray Check or Fray Block.

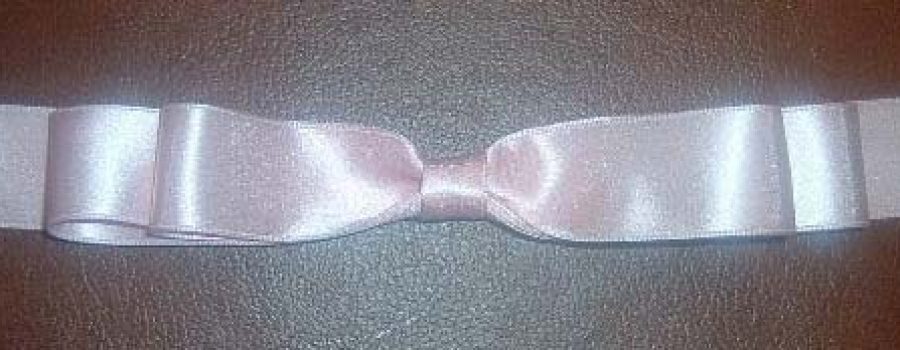
Finished Bow:
This is what the finished bow looks like.


