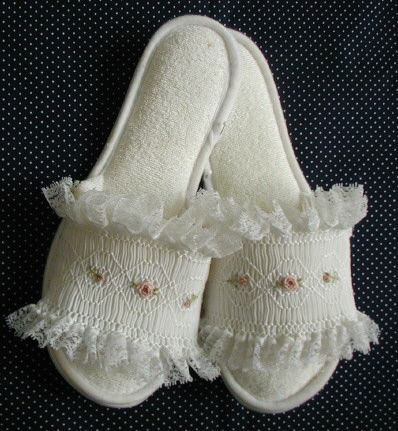
Betty’s scuffs
Scuffs How To
How To by Betty
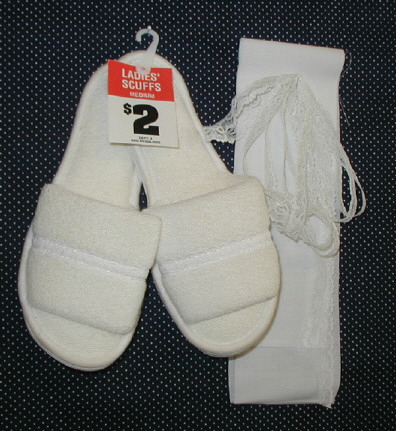
SUPPLIES:
Scuffs from Dollar General or Wal-Mart and a strip of
batiste 45″ X 3 1/2″ (maybe 4″,measure your scuffs),
5 yards lace.
Smocking design of your choice, I
make five windows and put roses in the center three.
Step 1.
Fold strip into fourths and baste mark by hand or
machine.
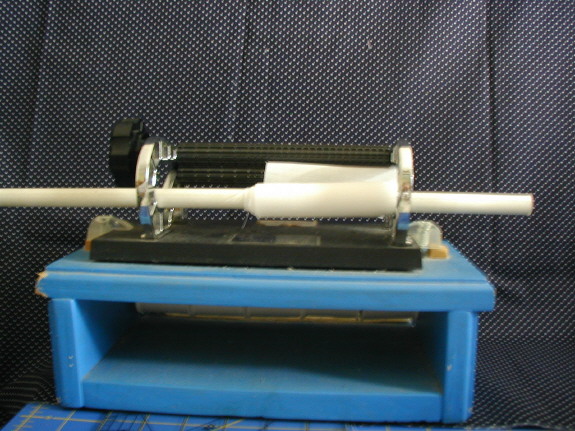
Step 2.
Center strip over 8 needles and pleat, when removing,
leave enough thread to pull out flat.
If rows 1 and 8 pleating threads
will interfere with attaching lace, just remove them and smock on 6 rows.
Step 3.
Roll and whip to attach lace on both long sides.

To Roll and Whip: Place right side of lace to right
side of fabric about 1/8″ from edge (lace on top).
Set zig-zag wide enough to just catch lace heading on
the left swing of the needle and clear off the fabric
on the right swing, this will roll the fabric over the
lace heading. My setting W 4, L 1 1/5.
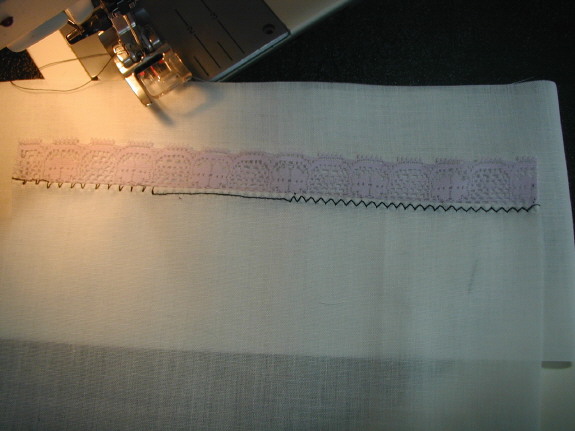
Open lace out and top stitch over the seam with a
blanket stitch, straight stitch, or zig-zag, see sample picture.
Step 4.
Cut pleating threads off at both ends, cut fabric
strip in half at the basted half mark. Roll and Whip
all four short ends or a close zig-zag will work here.
Pick out the pleating threads at both ends (I use a
seam ripper) and pull pleats up to easy smocking, tie
ends. The basting mark threads will be within two
pleats of center….no need to count pleats (unless
you want to). It is quick and easy to center a design
this way.
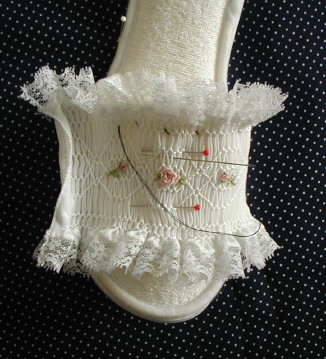
Step 5.
After smocking, remove pleating threads, pin to hold
at center of scuff. Barely turn under the ends and
tack to scuff at each side next to the sole and also
across top and bottom to hold in place. On the sides,
I put the needle inside the scuff then back out, about
1/2″ apart. They machine wash just fine,do not put in
dryer however.
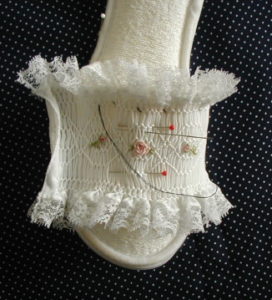

Finished Scuffs:
Home | How To | Smocking |

