More Basic changes
Yes, we are still working on our basic bodice. Once you have chosen a basic bodice pattern, you can change it to your hearts content. Lets say, the pattern you like has a zipper back closing and you really want a button back closing. What do you do? You go to our sewing mentor Betty and ask! Betty worked up the instructions for you on how this is done. Just a side note here to Karen, this is what you have been asking for.
We will be doing more changes to the basic bodice pattern, so check back often.
I will let Betty explain:
Changing zipper bodice back to a button closing.
I like to use sew in Pellon for pattern tracing, it won’t tear and I can write on it.
Trace full zipper pattern piece marking a line on “center back”.
Measure 3/8″ from center back line and draw another line for a button closure turn under line, I tried to do this is RED for it to show up.
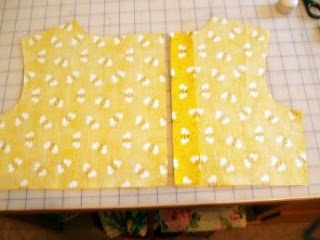
The first picture shows an extended line drawn 2 5/8″ from original back cutting line. Cut pattern off at this line (do not cut any more off new pattern at this time)
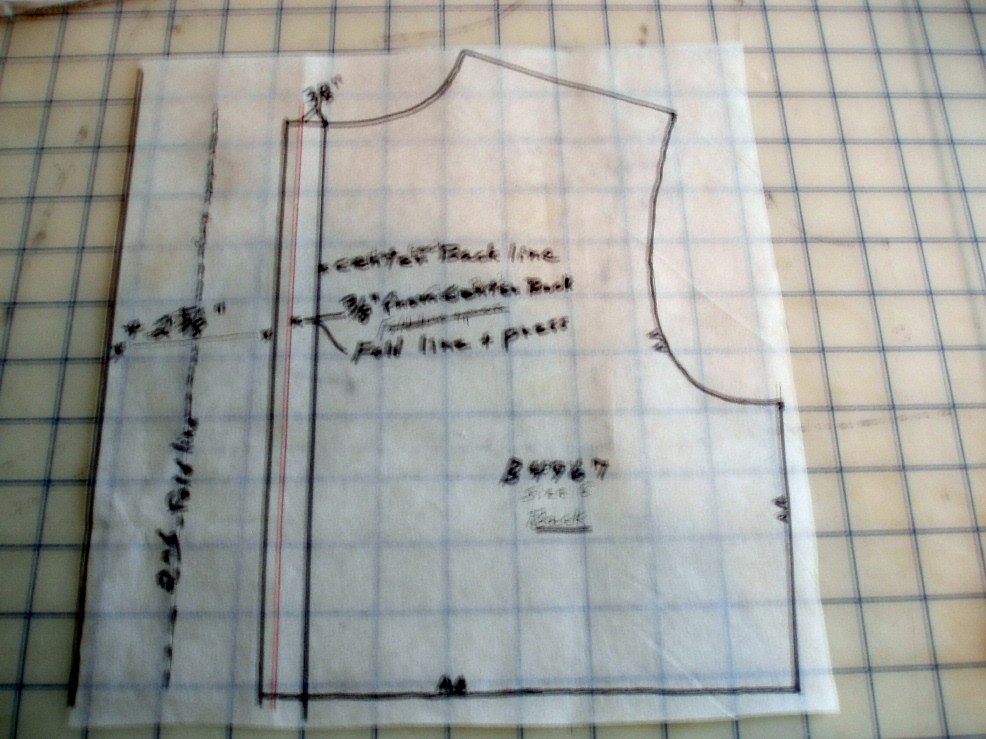
turn pattern over fold facing on red line, the 3/8″ line and finger press.
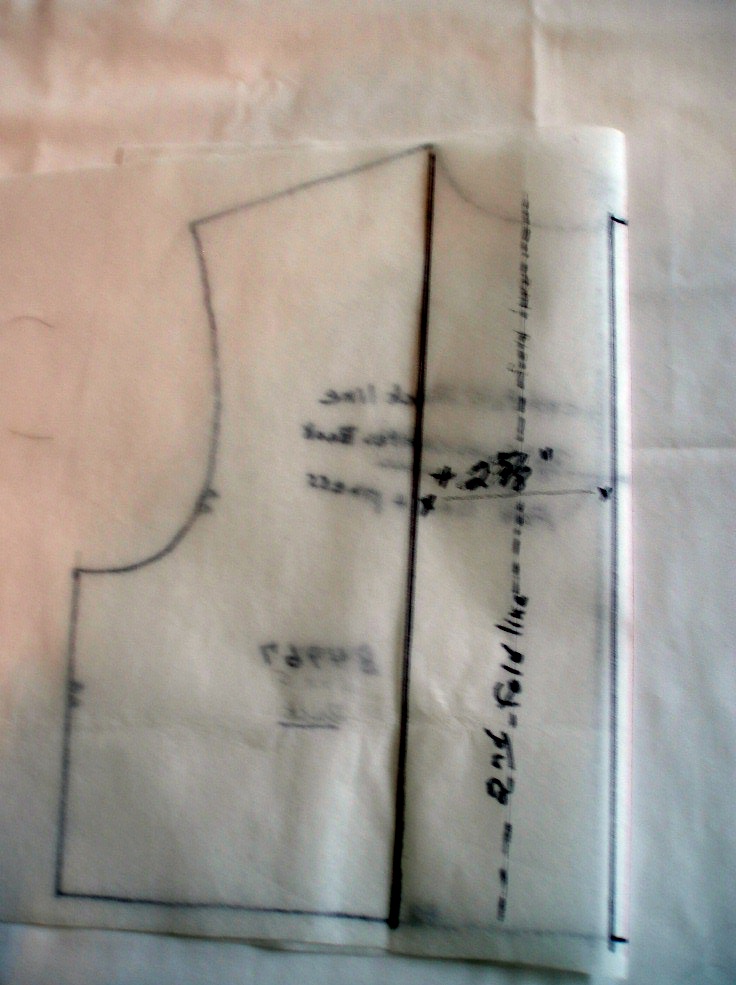
open up and draw line on second crease.
I needed to touch up the edges of the facings so I could see the pattern edge in that area, top and bottom
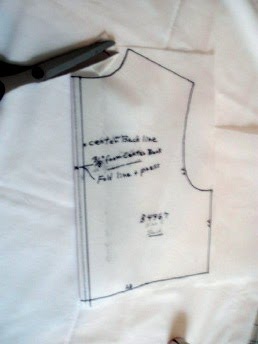
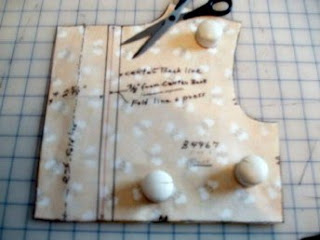
Cut out fabric, clip into top and bottom seam allowances at turn under lines for as easy straight fold guide.
Iron press after each fold. Treat the second fold as one piece if inserting collar or facings.
If you prefer just a basic turn under facing, or one to attach a lining to, add only 1 1/4″ to the cutting line. This will give a 1 1/2″ turn under allowing for a finished turn under of 1/4″ or a seam to attach a lining if desired.


